I always loved building stuff with K'nex ever since I was a kid, and since I had no case but still wanted to build a computer out of some spare parts that I had, the choice was obvious - build a computer out of K'nex!
I improvised and constructed the chassis entirely out of K'nex over a span of about 3 days and even did a few upgrades some time after, including upgrading the RAM, hard drive, CD to DVD drive & added a wireless card.
It turned out so well that I even proceeded to build a couple more computers just like it some time after. The chassis is actually quite durable and I often brought it with me to LAN parties. I also documented and took pictures while constructing the computer, which you can see below. You can also click on any image below to view a larger, more detailed version!
Hardware Specifications:

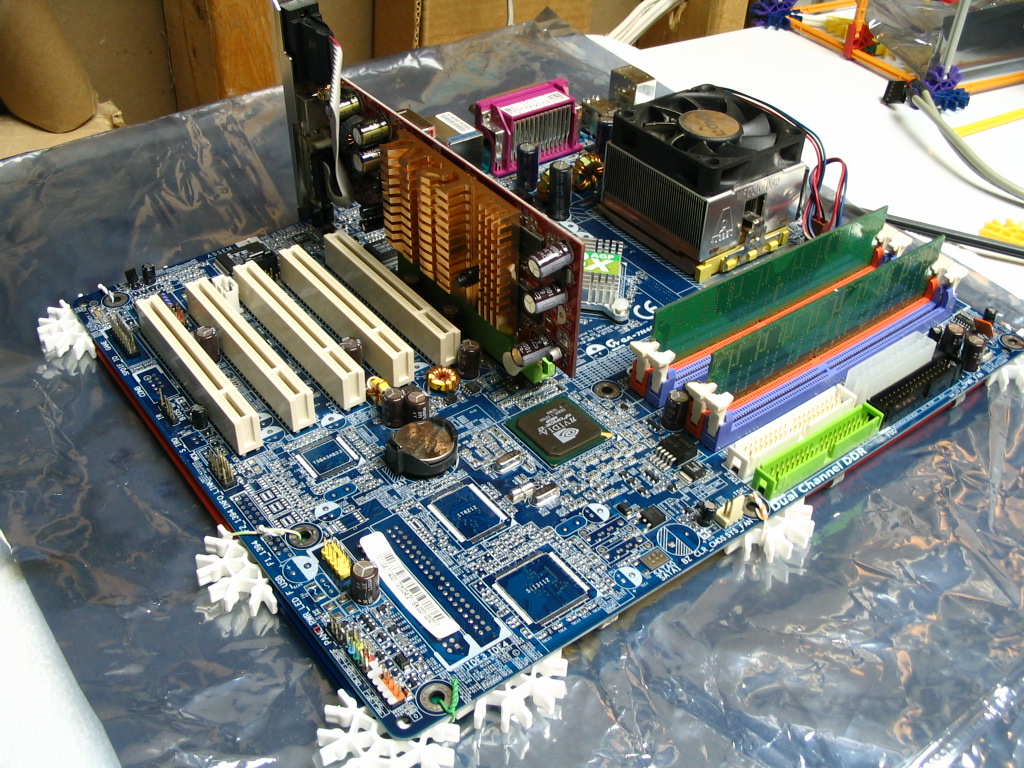
Started with the motherboard as a basis, and attached K'nex to it.

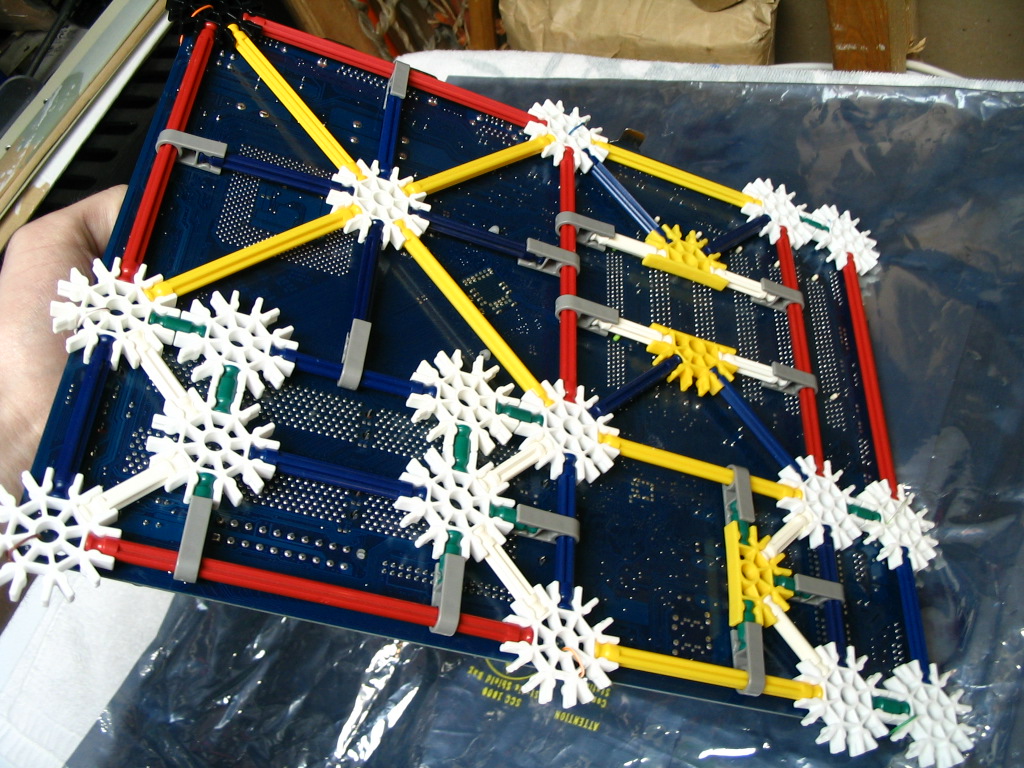
A view of the underside where I used wire to securely tie the motherboard in place.
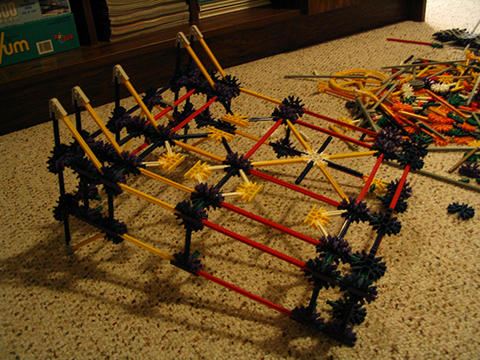
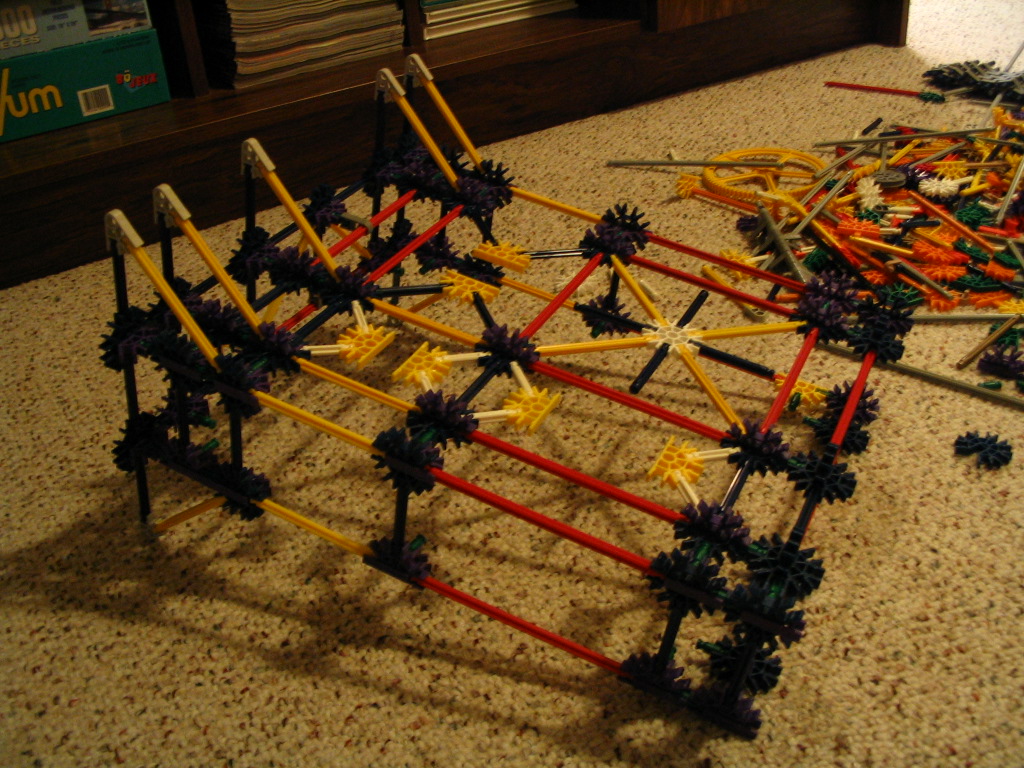
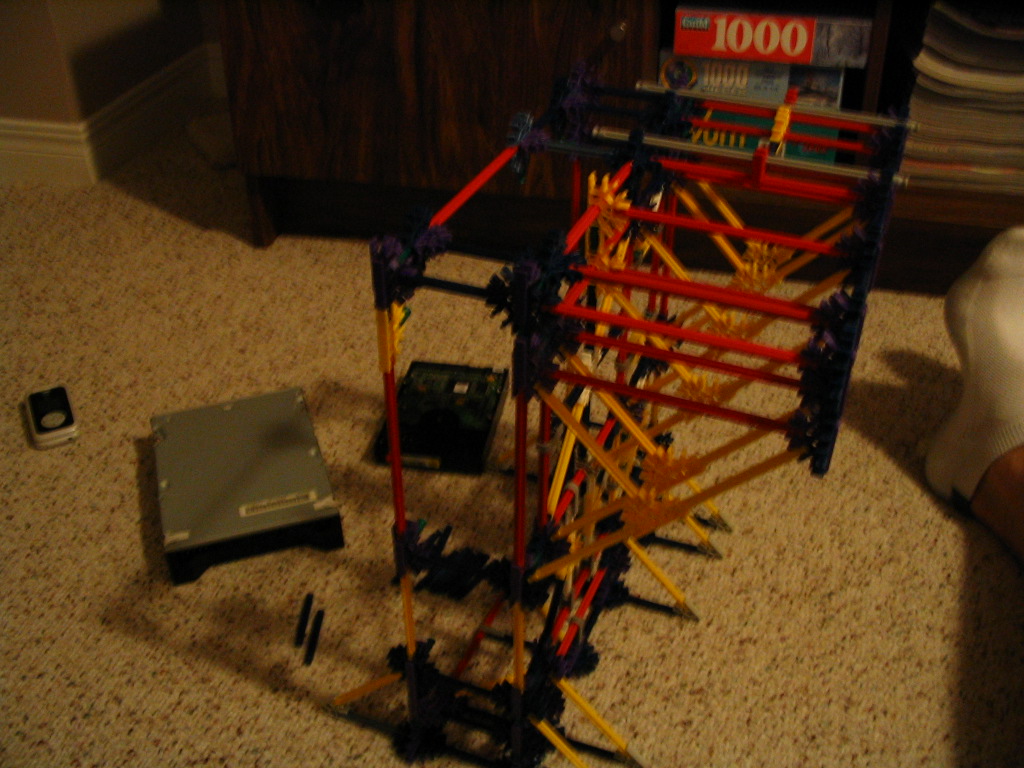
After extending outwards, I snapped the outline off (so as not to damage the motherboard while building) and extended up and around it to form a starter chassis.

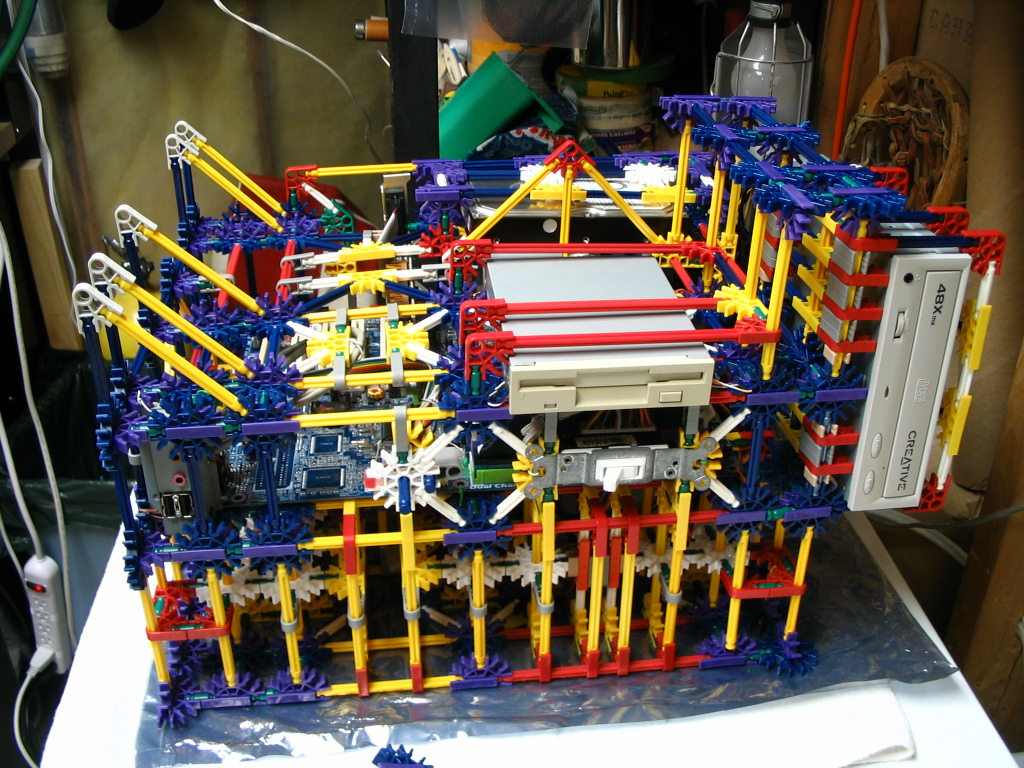
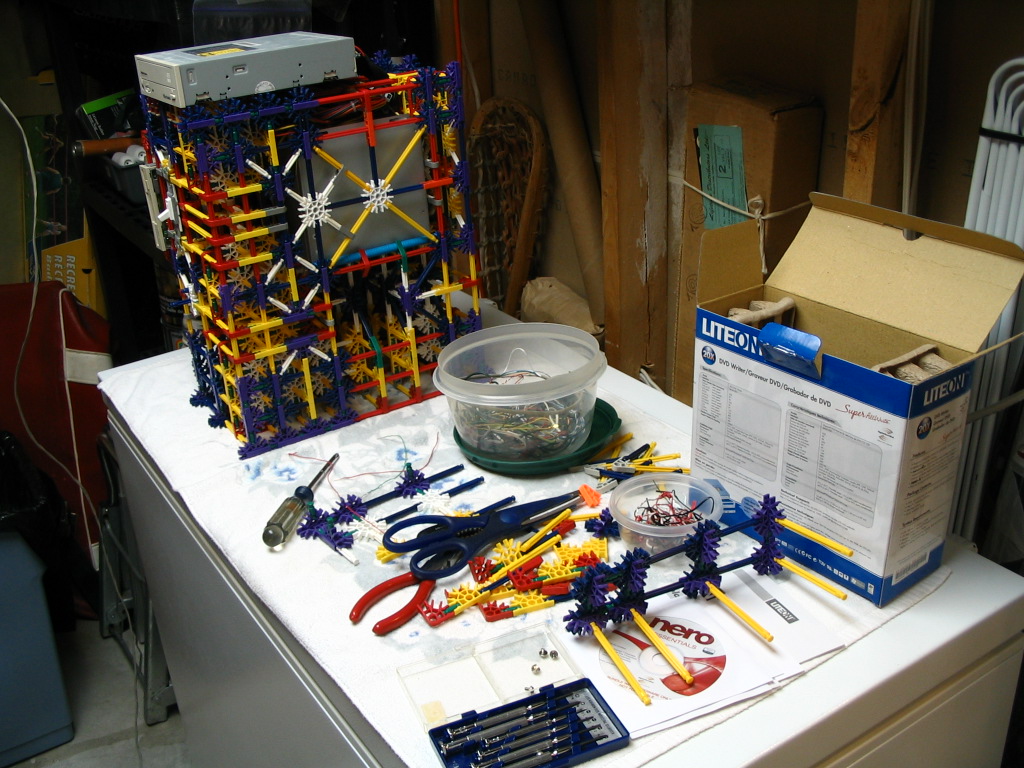
Adding a platform for the CD drive to be placed on top - this is later removed and the drive is re-aligned to the center of the chassis.
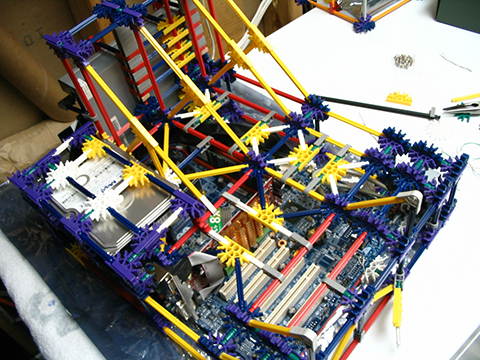
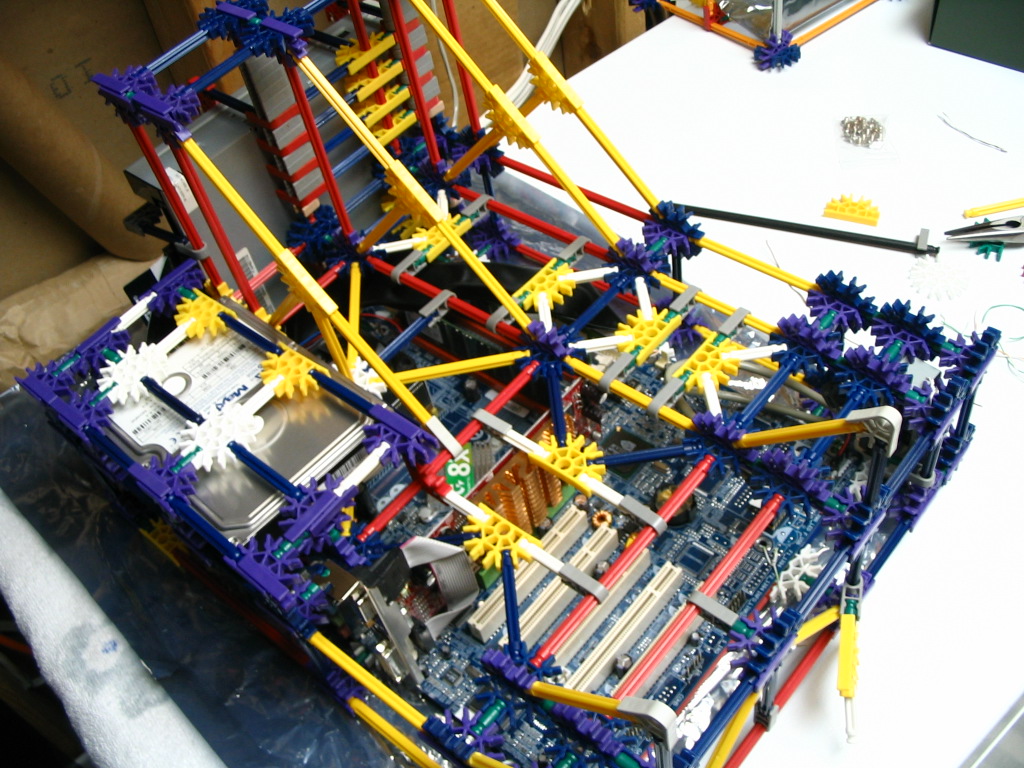
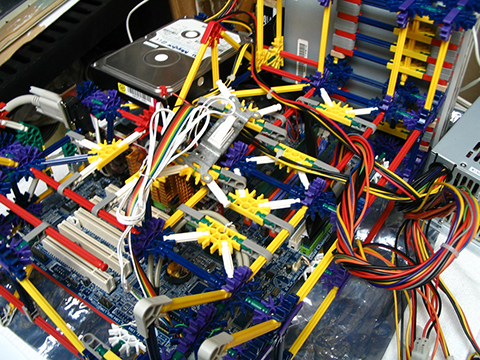
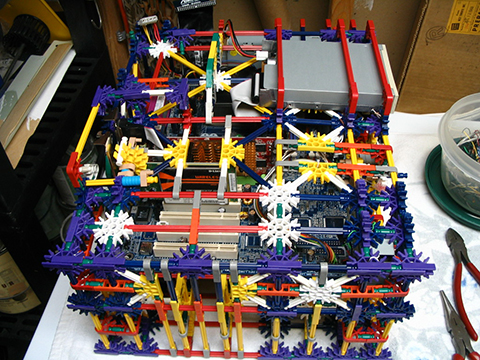
Re-attaching the motherboard to the chassis with the optical drive and hard drive already mounted.
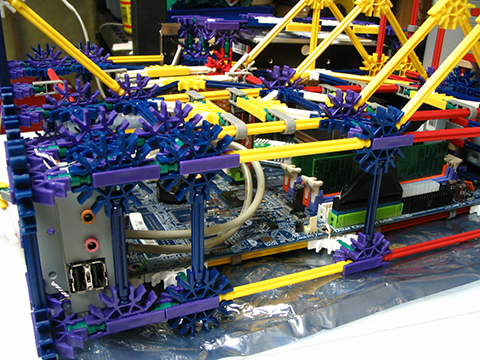
Added additional USB 2.0 ports to the front bottom of the chassis (audio plugs not connected - no front panel audio connector on motherboard).
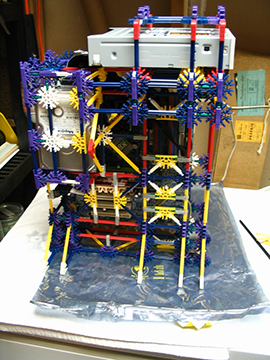
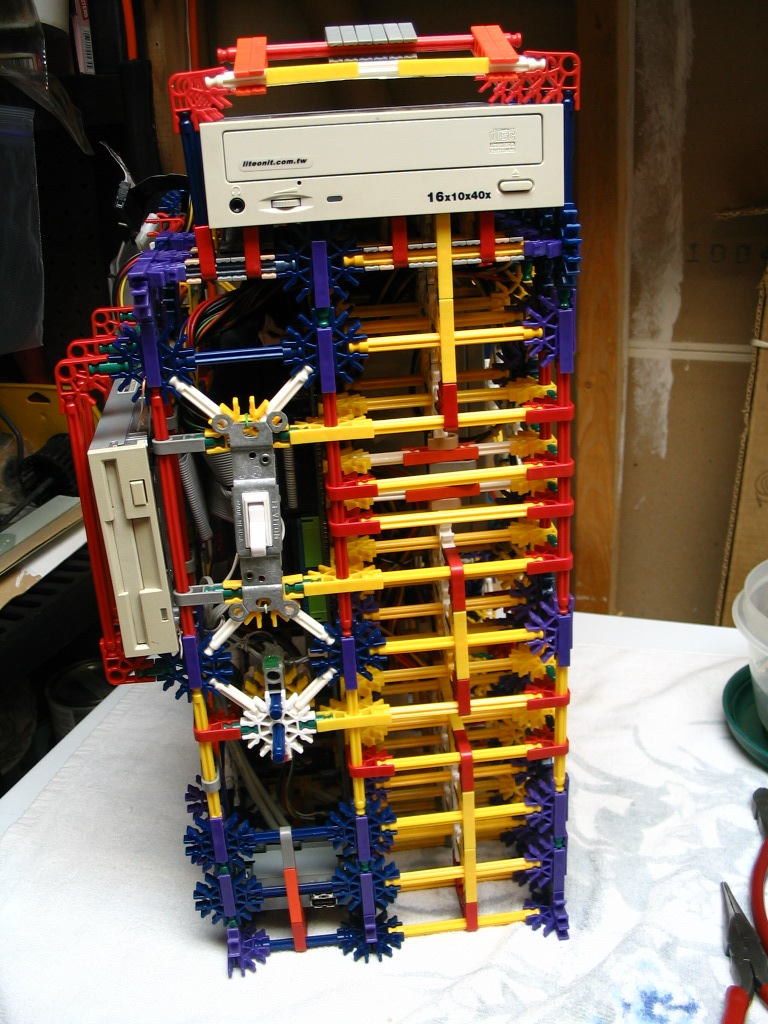
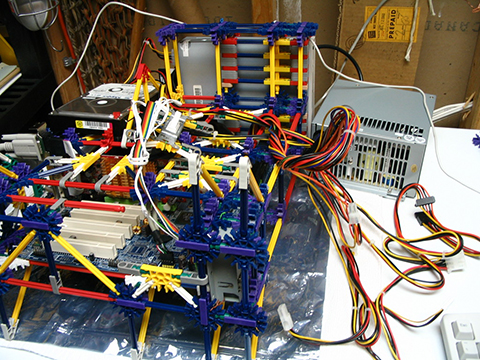
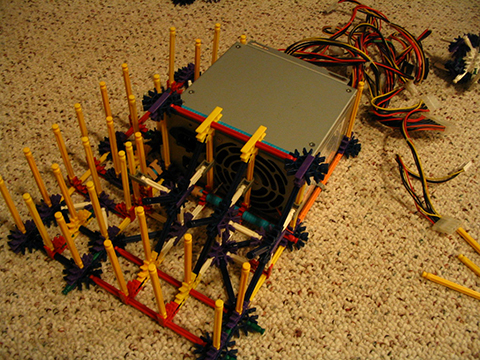
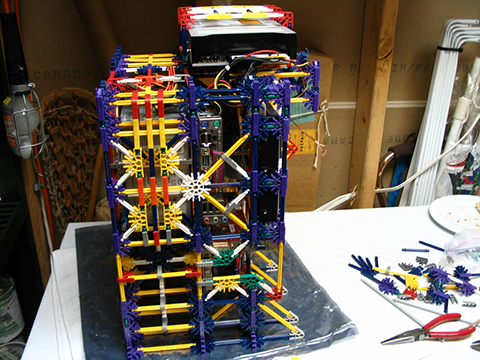
A view from the side of chassis, standing up (had to halt construction for a bit while I waited on a power supply to arrive).
I did however, still need some sort of front panel interface to let me turn the computer on/off, reset it and some LEDs for power and HDD activity display.
So I decided to get creative and build a custom front panel assembly! I scavenged up some miscellaneous components to do so, including the following:
The ribbon cable that was used only had 8 pins, 2 of which were in the wrong place, so I needed to move them. The connector on the ribbon cable was set up as follows:
O O O X O
O O O X O
Where X is an empty hole and O is a pin. I needed pins where the empty holes are, so I took pins off of the other end of the cable and put them into the empty holes to make it a 10-pin ribbon cable, and glued them in place to make sure they don't fall out. The two pins on the far right are ignored, as they have no purpose and don't connect to the motherboard's front panel connector.
The pin layout on the motherboard is set up as follows:
3 3 4 4 X
1 1 2 2 X
Where:
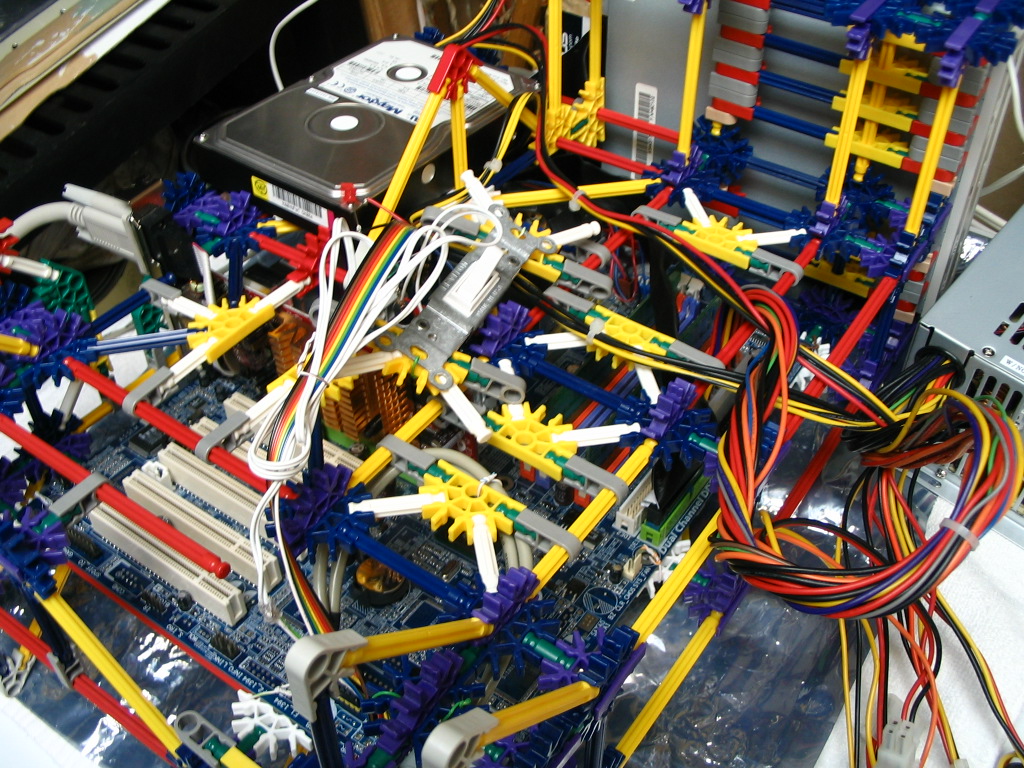
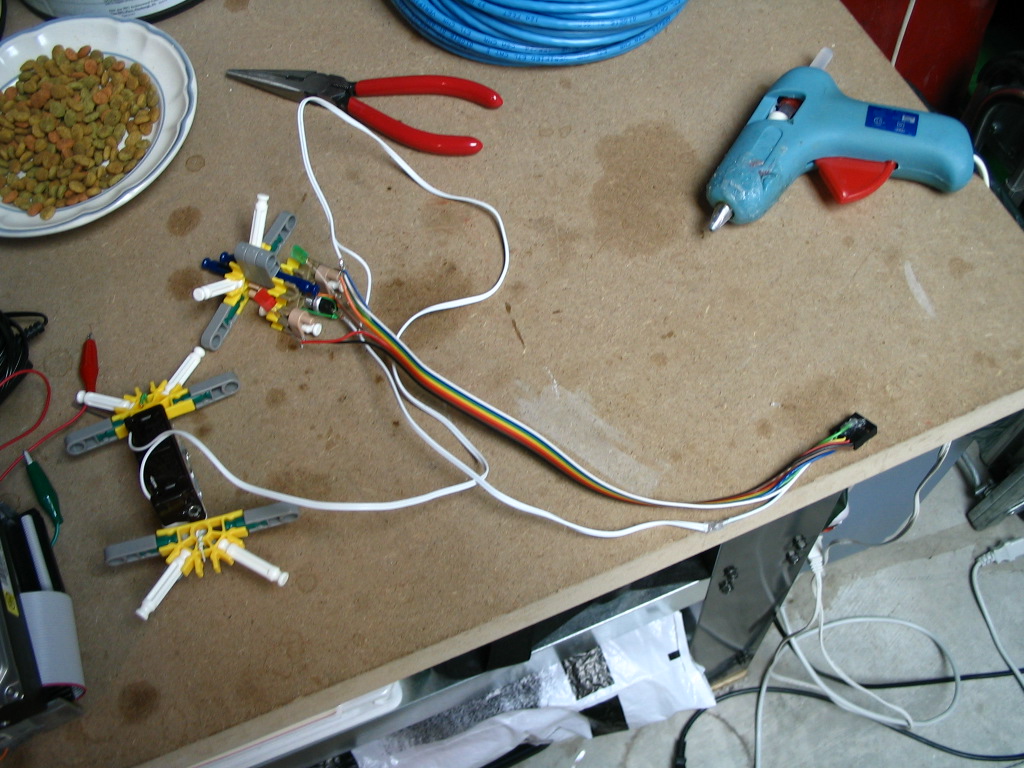
So after a little bit of glueing, soldering and re-wiring I had hooked all of the components together to make an awesome front panel assembly!
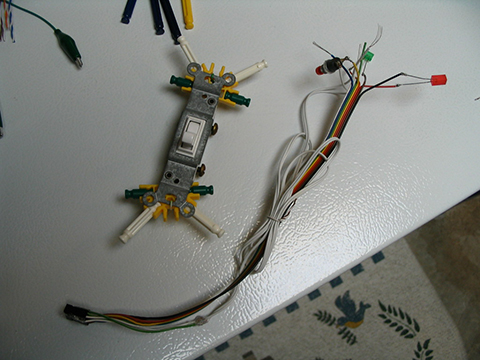
An unfinished version the front panel assembly. Still need to hook up the power switch and build a mount for the LEDs & reset button!
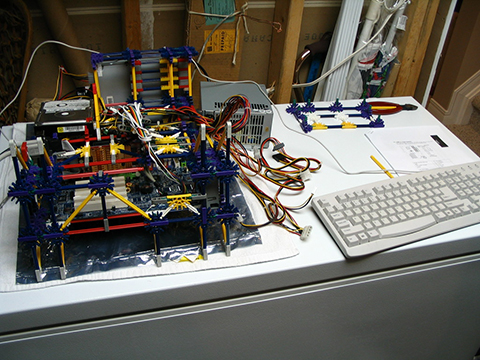
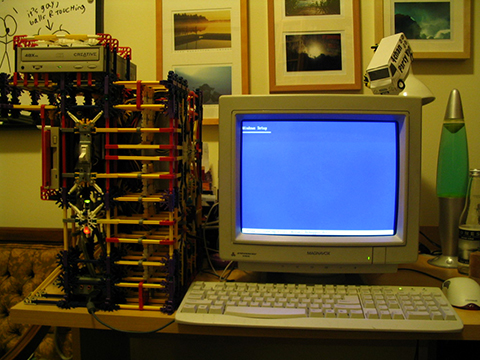
Setting up for a test run of my new creation with a fresh power supply! No need to mount it, just slap it on the workbench!
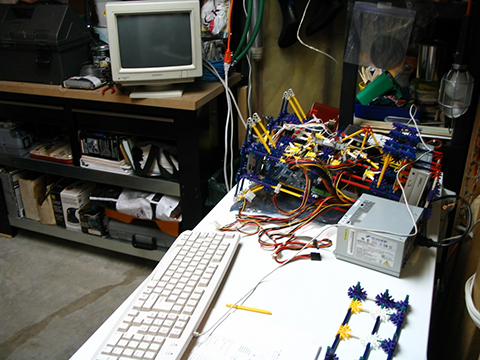
Another angle with an ancient CRT monitor in the background.
Close-up view, with the power switch attached to the front panel assembly.
And yet another angle of the setup.
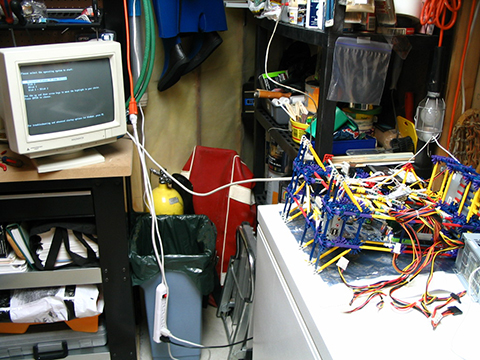
First test-run using a spare bootable hard drive - it lives!

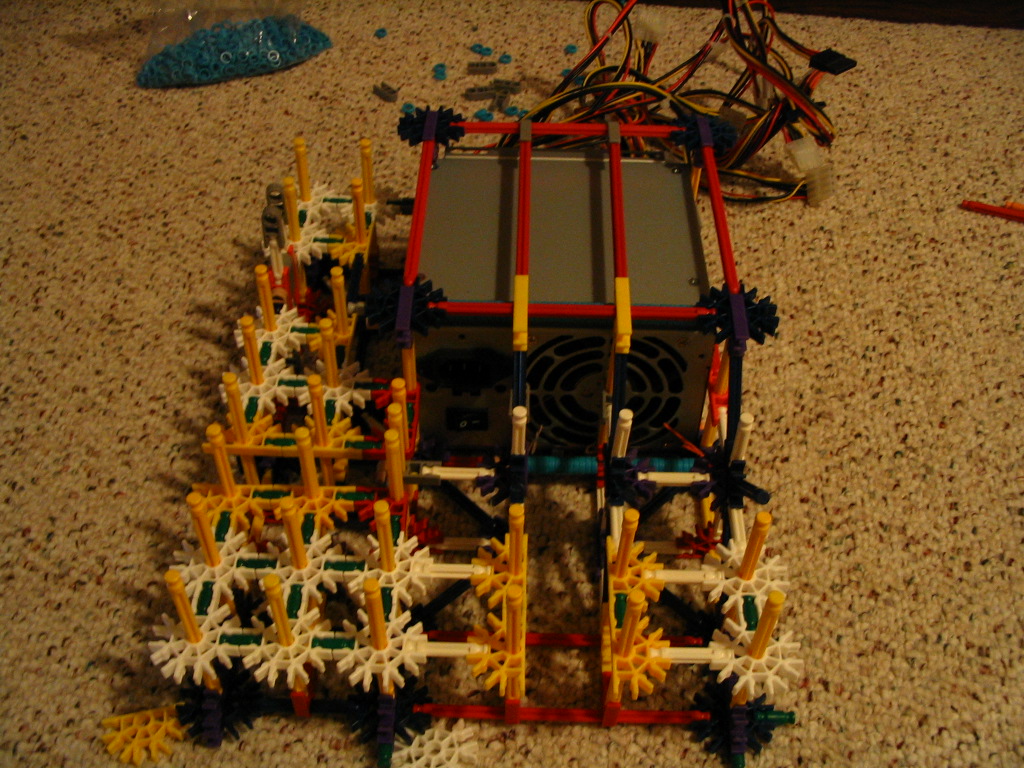
Temporarily removing the motherboard from the chassis so the power supply can be attached to the opposite side.
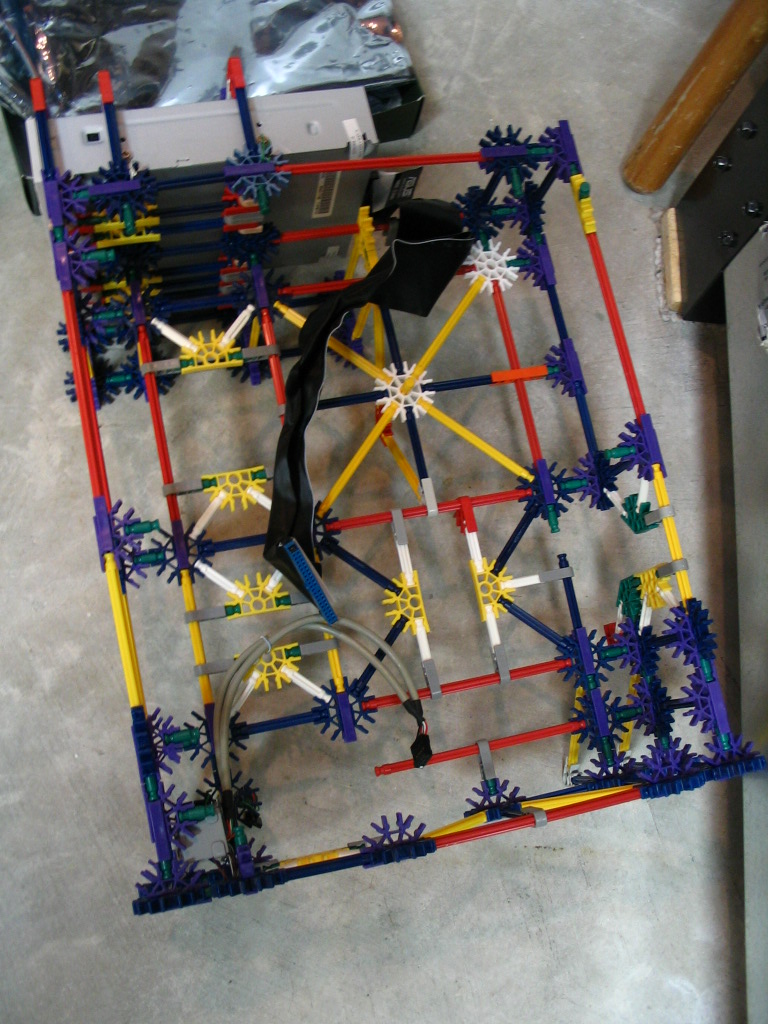
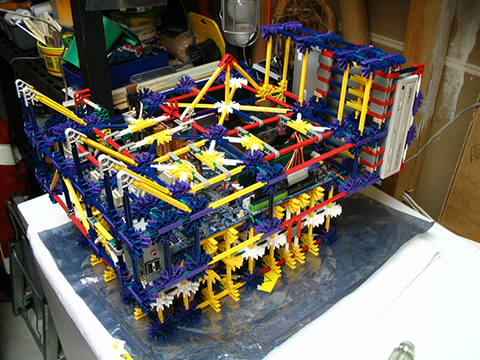
Attaching the power supply to the chassis of K'nex & reinforcing the chassis for extra durability.

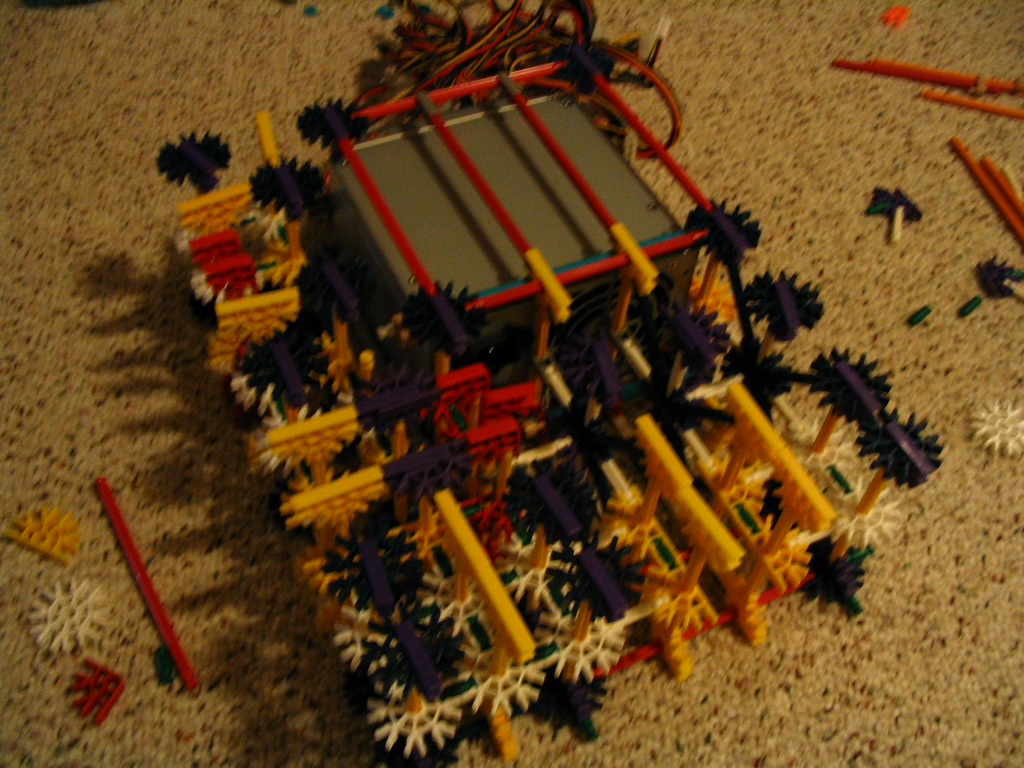
Adding even more reinforcement.

Finishing off the backside.
Re-attaching the motherboard to the main chassis, along with the power supply.

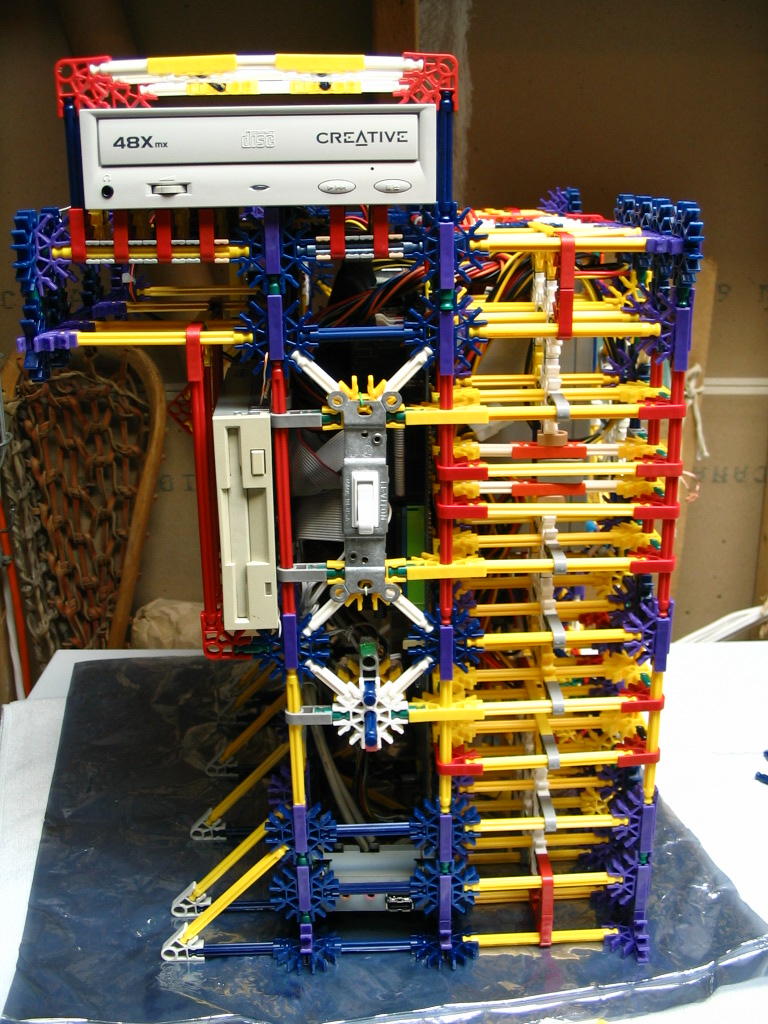
The completed front panel assembly - power switch must be flicked up temporarily to turn on, the rod must be pushed inwards to trigger the reset button.

Doing some final touchups on the backside of the chassis.

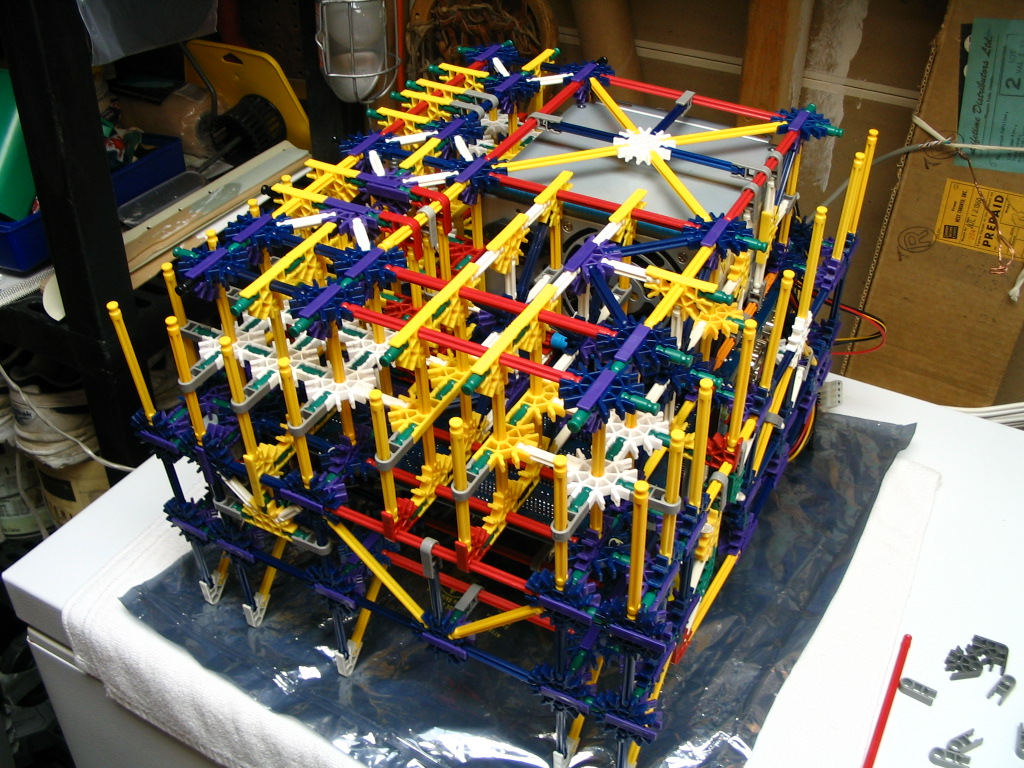
Looks about ready to rock and roll!
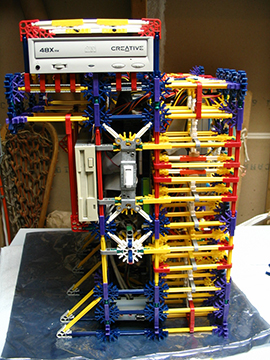
A front view of the initial completed version of K'nex.

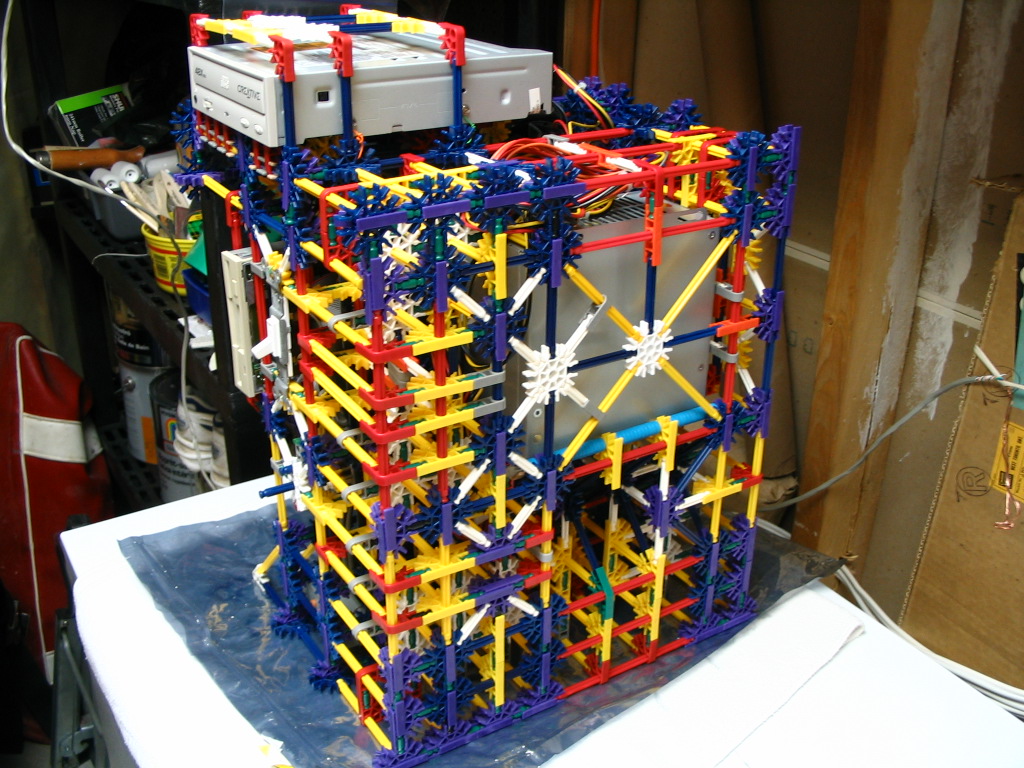
A view of the right side.
And the left side.
And finally, the rear.
Installing Windows XP Professional onto K'nex.

A close-up of K'nex while it's running.

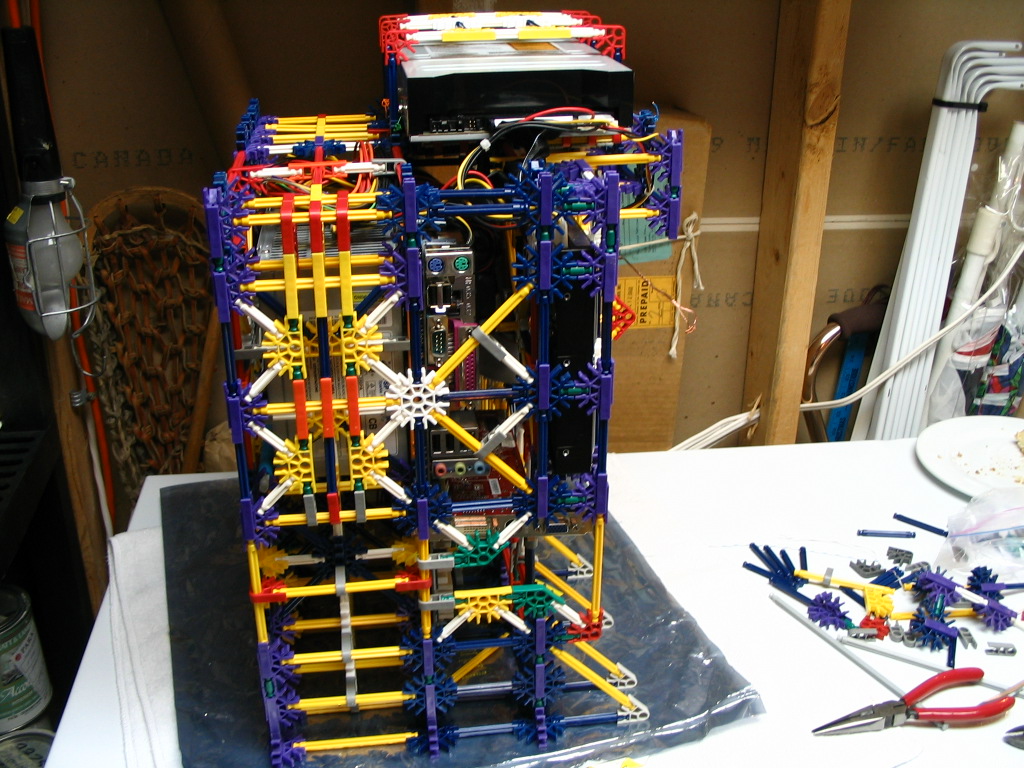
Doing some touchups on the design of the chassis.
Side view of the case with more RAM and a new Wireless-G card installed and secured.
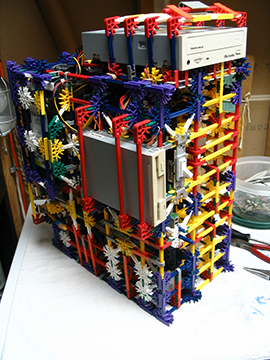
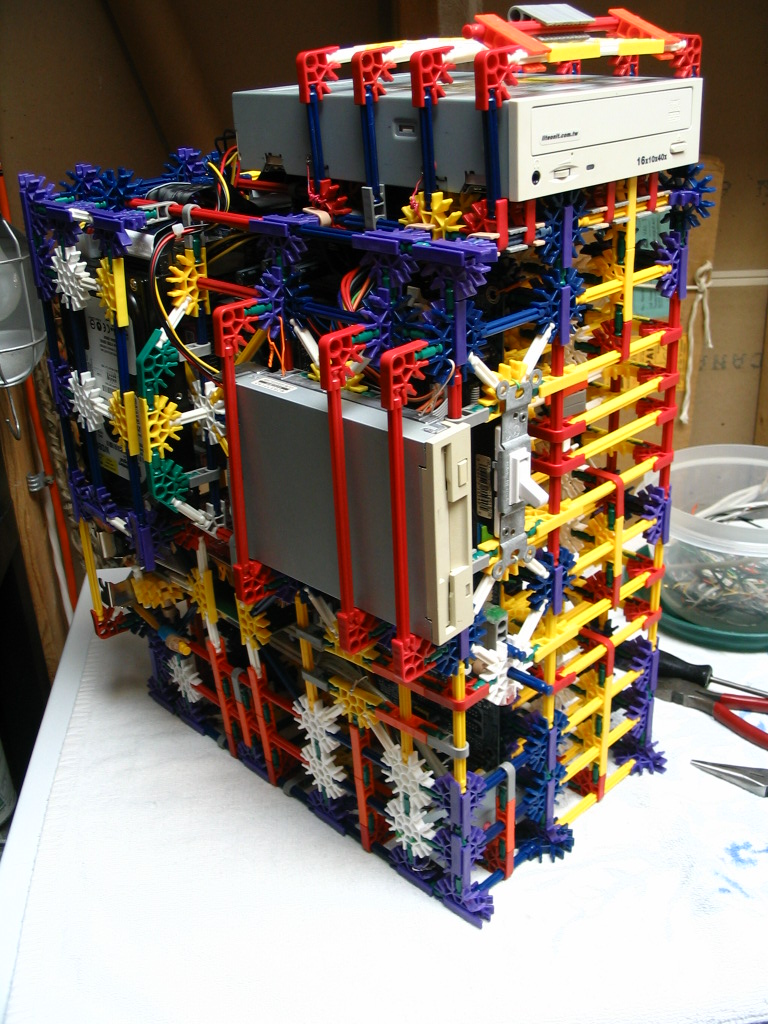
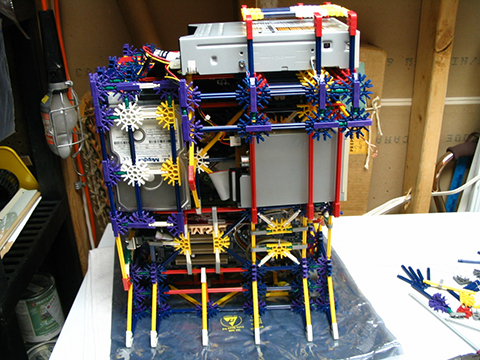
The final version of K'nex with the optical drive re-positioned to the center of the chassis.

And a view of the front side of the completed product!